

We found these frames at the Fairfax Flea Market a few weeks back and while they were nothing special at first, we saw potential for a fun DIY project. We were drawn to the circular shape and the carved details.
When shopping for vintage frames (especially those that aren't rectangular), it's helpful if they come with the glass since custom-shaped glass can be hard to find and very costly. We got the frames at a bargain and after buying all of the other materials, the entire project cost us only $17 a piece.
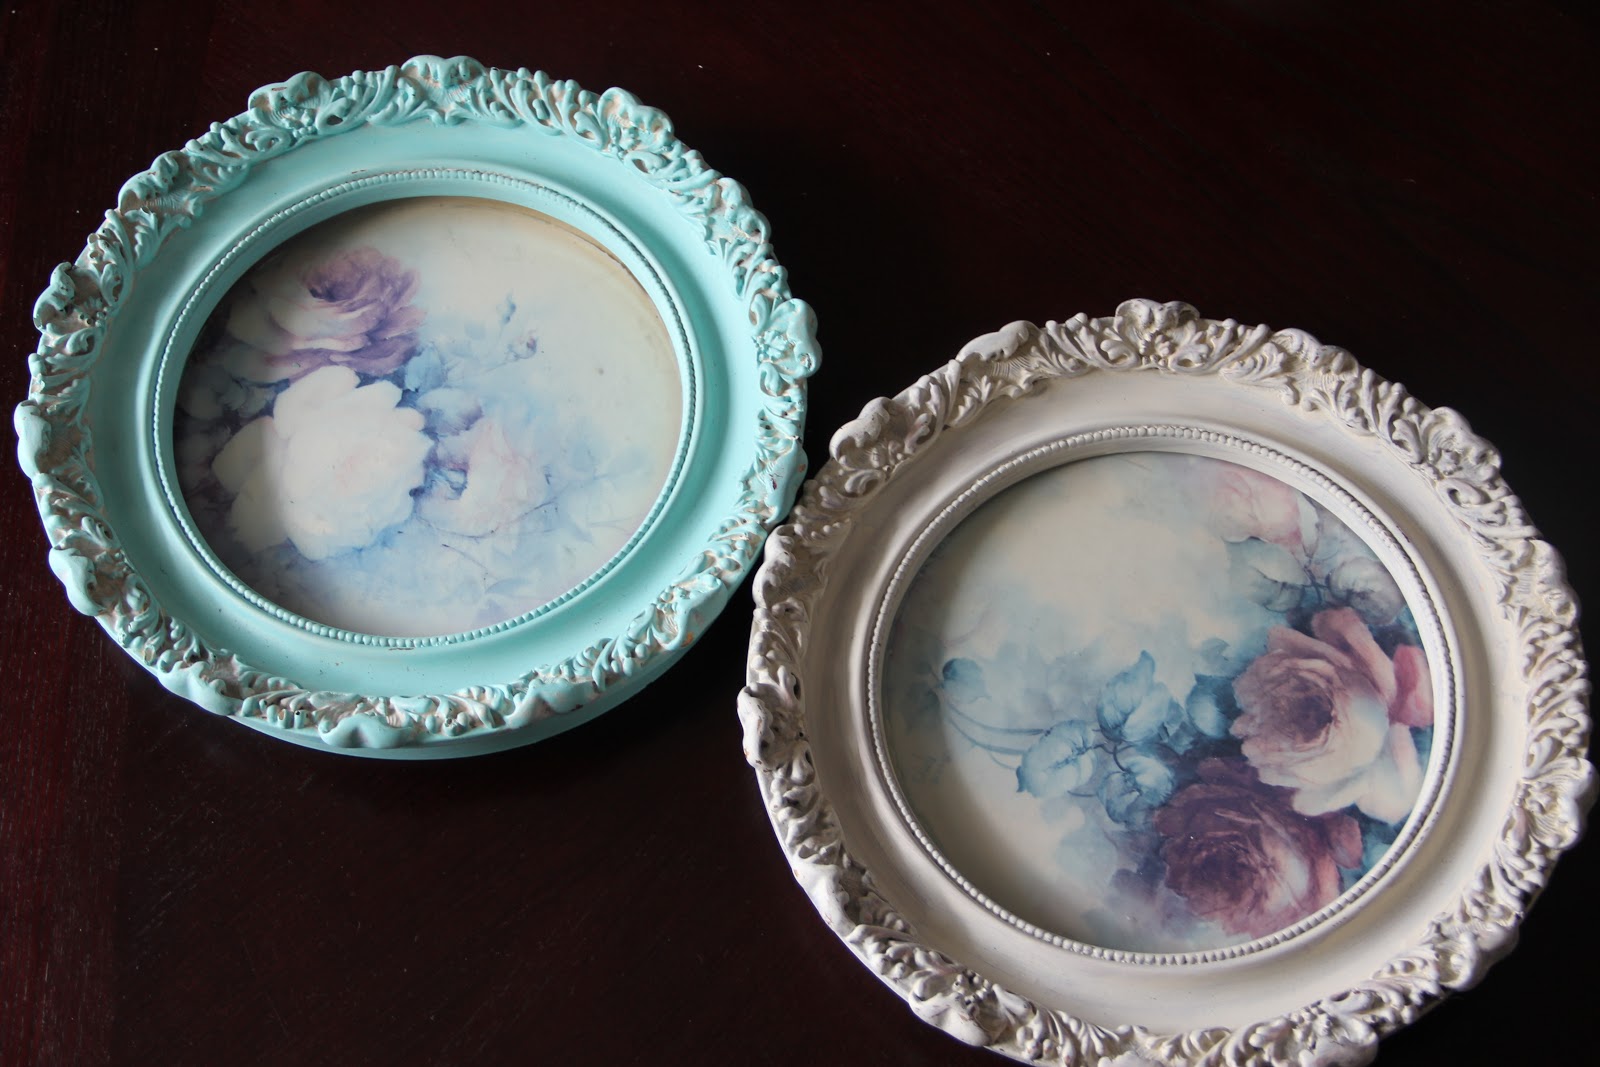
The ugly paint job and faded flower pictures had to go.

Remove the glass and spray-paint the frames. We used a matte white spray paint.

Use the glass as a template to trace and cut your paper. We found the mustache printed paper at Paper Source. We were originally looking for a graphic print like a chevron or brocade but when we saw the mustache paper, we just had to get it!
You can also use wrapping paper or wallpaper or even fabric. We also used a foamcore poster board to provide extra thickness behind the mustache paper.

Screw in 1/8" offset clips to secure the glass, paper, and foamcore in place.


The finished product hanging in Sarah's bathroom.

The finished product in Carolyn's living room.
In other news, we are super sad that Google Reader will be going away this summer...so we've signed up for Bloglovin'! Please follow us here --> Follow my blog with Bloglovin!
I love the chic and modern transformation!
ReplyDelete